
How to Polish Stainless Steel Without Ruining the Finish
Choose the finish first, clean the steel, work through progressively finer abrasives, control heat and prevent carbon-steel contamination.
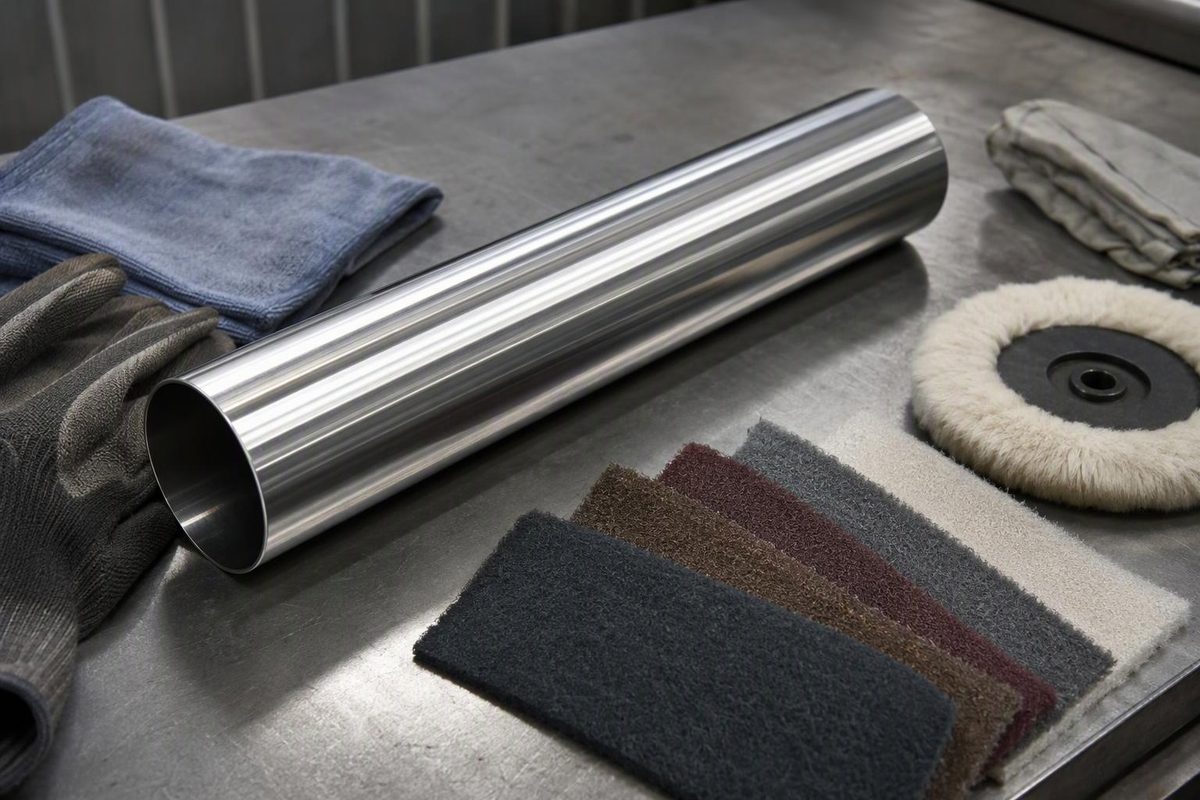
First identify the finish you want to reproduce: directional brushed grain, nonreflective satin, bright polish or mirror-like polish. They are not interchangeable. Clean the steel, start with the finest abrasive that removes the damage, progress through finer grades without skipping persistent scratches, and reserve every abrasive and buffing wheel for stainless steel only.
Do not start with polishing compound when scratches remain visible. Polishing removes metal with abrasives; buffing mainly smooths and brightens a surface that has already been prepared. Buffing is not a shortcut for removing a coarse scratch pattern, according to the British Stainless Steel Association.
Choose the target finish
| Target | Preparation | Final operation |
|---|---|---|
| Existing brushed finish | Match the original scratch scale with a fine belt or nonwoven conditioning product | Straight passes parallel to the existing grain |
| Satin or No. 4-style appearance | Remove damage, then refine to a uniform directional texture | Overlapping passes in one direction |
| Bright polish | Continue through progressively finer coated abrasives until no earlier scratches remain | Buff with a compound intended for stainless steel |
| Mirror-like polish | Prepare an exceptionally uniform, fine surface | Separate cutting and final buffing wheels and compounds |
Treat these as process descriptions, not finish specifications. The BSSA notes that final grit alone does not define a mechanical finish: pressure, contact time, feed rate and wet or dry processing also change the result. It recommends an agreed sample when appearance matters. As a broad guide—not a definition—it associates 80 grit and coarser with grinding and 120 grit and finer with preparation for polished finishes.
A commercial “No. 4,” “satin” or “mirror” description may therefore differ between suppliers and finishing shops. For a purchased tube, sheet or fabricated assembly, record the original finish and make a trial on scrap of the same grade, product form and starting finish.
Step-by-step method
1. Clean and inspect
Wash away loose dirt and grease with a cleaner suitable for stainless steel, then rinse and dry as its instructions require. Test any unfamiliar cleaner or abrasive in an inconspicuous area.
Identify the actual defect before cutting metal:
- Fingerprints, water marks or compound residue: clean first; sanding may be unnecessary.
- Light scuffs in a brushed surface: blend with the existing grain.
- Deep scratches: abrade to the bottom of the damage, then rebuild the finish.
- A weld bead: level it without gouging the adjoining tube or sheet, then remove the grinding pattern in stages.
- Orange staining: determine whether it is transferred iron or corrosion before polishing; see why stainless steel can rust.
2. Prevent carbon-steel contamination
Use belts, discs, nonwoven products, wire brushes and buffing wheels that have never touched carbon steel. Label and store them separately. Shared finishing media can transfer iron particles that later rust on the stainless surface. The BSSA identifies contaminated media—particularly hand tools previously used on carbon steel—as a frequent cause of rust staining.
If a wire brush is appropriate, use one specifically intended for stainless steel. A clean-looking carbon-steel brush is not a stainless-safe substitute.
3. Start as fine as practical
Test the finest abrasive likely to remove the defect. Step coarser only when it is not cutting effectively. Starting too coarse adds work, removes unnecessary material and increases the risk of rounded edges, low spots beside welds or flats on tubing.
On round tube, use a contact shape that follows the radius and keep it moving. A small, rigid disc concentrates the cut; a belt, flap wheel or nonwoven wheel can conform more readily, depending on access and the required finish. See flap wheels versus sanding discs for the contact-shape tradeoffs.
Be especially cautious on thin-wall tubing. Cosmetic polishing should not materially reduce the wall or flatten the section. If a scratch is too deep to remove safely, accepting the mark or replacing the part may be better than grinding through it.
4. Erase the previous scratch pattern
Move through progressively finer abrasives. Do not advance merely because the surface looks brighter: advance when the previous, coarser lines are gone.
Clean the workpiece, tool and hands between stages so detached coarse grit cannot re-scratch the surface. Low-angle lighting helps reveal lines that overhead light can hide. Slightly changing direction during intermediate stages can make the old pattern easier to identify, but make the final passes straight and parallel when restoring directional grain.
On a large sheet or architectural panel, work across the full visible area or stop at a natural break. A small polished patch can remain conspicuous even when the scratch itself disappears.
Use light, controlled pressure and a sharp abrasive. Keep the tool moving rather than dwelling in one spot. If the steel develops heat tint or the work becomes difficult to control, stop and let it cool; more pressure is not a substitute for an effective abrasive. Follow the tool, wheel, disc and backing-pad speed ratings.
5. Buff only after sanding is complete
For a bright or mirror-like result, begin buffing only when the abrasive pattern is uniformly fine. Use clean wheels and compounds made for stainless steel. Keep the cutting wheel separate from the final finishing wheel; coarse compound transferred to a finishing wheel can reintroduce scratches.
If lines remain after buffing, return to the abrasive stage fine enough to remove them. Extra compound and pressure may brighten the high points without eliminating the underlying pattern.
6. Clean and inspect
Remove polishing residue with a compatible cleaner and a clean, lint-free cloth. Inspect the surface from several angles under consistent light.
For brushed stainless, check grain direction, line spacing and sheen. For a bright finish, look for haze, waves and isolated scratches. Compare a critical part with the approved sample rather than relying on a nominal grit number.
Mechanical polishing changes appearance and roughness, but appearance alone does not prove that weld heat tint, embedded iron or fabrication contamination has been adequately treated for corrosive, hygienic or specified service. If the job requires pickling, passivation, electropolishing or a measured roughness, follow that requirement separately.
Tool and dust safety
Wear eye and hearing protection, secure the work and keep machine guards installed. Never exceed the rated speed of a wheel, disc, brush or backing pad. Keep hair, gloves where prohibited by the machine instructions, jewelry and loose clothing away from rotating equipment.
Grinding and polishing generate metal and abrasive dust. Use effective extraction and choose respiratory protection from the product safety information and a task-specific exposure assessment. Check the abrasive, compound and cleaner safety data before use, particularly in a workplace or confined area.
The reliable sequence is simple: match the intended finish, remove the defect with the mildest effective abrasive, eliminate each preceding scratch pattern, prevent cross-contamination, and buff only after the substrate is ready.